Showing posts with label Annie Sloan Chalk Paint. Show all posts

Wednesday, October 31, 2012

The Pink Lady


I'll have to admit, when my customer asked me to paint this desk pink, I wasn't feeling it.  It just seemed like such an elegant desk to be pink.  Of course I had a "Pepto Bismol" pink in my mind.

She actually sent me a picture of what she wanted and I got some sample cards to make the choice from. When I found out she would be sharing an office with her husband, I suggested Annie Sloan's Antoinette.  It is such a subtle pink, I thought it would be a good compromise to make them both happy.

The desk had this one spot that needed a little doctoring.


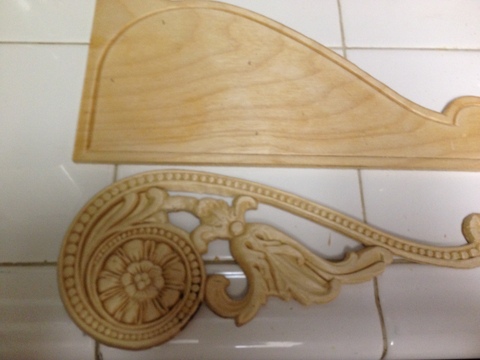
I had this piece of decorative wood for a stair step lying around and thought it might cover up the problem.  I popped off the swirly part, and cut out a piece that looks similar to the missing one.  Then I just wood glued it in place.  I figured once it was painted, it would blend close enough.


OK.  Enough with the suspense.  Here's the Pink Lady in all her glory.


And here's one last look along with her chair......


What do you think?  

Thanks so much for stopping by.

Blessings!

Jeanne

Linking up to:


Pin It

Friday, July 27, 2012

My Little Desk Grows Up

Pin It

I bought this little desk a few years ago at a garage sale.  It's been a perfect piece to have in our great room area, since it didn't take up a lot of space.  I recently got another desk, so I thought I'd give this a makeover to make it look more "grown up" before sending it off to a new home.


It was just feeling unsophisticated.


I decided to give Annie Sloan's Aubusson Blue a try on this one.  I love this color, and I'm so glad I finally found a project to use it on.  I also knew I wanted a darker top.  I wanted to try Minwax Poly Shade, which is polyurethane and stain all in one.  This was laziness a time saving idea on my part, as that way I just had to paint right over the existing finish.  No sanding, staining, and clear coating for this one.  Without further ado, here is my desk all sophisticated and grown up.


I thought the chair I recently painted for my first Miss Mustard Seed's Milk Paint project would look great with the desk.  You can read about that makeover here.  So here she is with the chair.


As usual, thanks so much for stopping by!


Blessings!


Jeanne


Linking Up to:


2805 - Potpourri Friday
The Dedicated House - Make it Pretty Monday
Homemaker on a Dime - Creative Bloggers' Party & Hop
Miss Mustard Seed - Furniture Feature Friday
Serendipity and Spice - Manic Monday

Friday, June 1, 2012

Drop Leaf Table Makeover

OK, so I don't get any points for a creative title on this post.  I just don't have the creative juices flowing right now.  This table was another makeover for a friend.  My friend inherited this table from a relative.  It was in pretty sad shape, as it had been out in a storage shed.  She pretty much gave me free reign on this one. 


It had good "bones", but needed some TLC


My hubby had to help with some fixes first........


This leg was cracked almost off.  He had to glue and screw it for it to withstand the stress.


Stripping and sanding was next.  My sweetie did that for me too!


I tried a combination stain and poly by Minwax.  I picked this up on the cheap at an estate sale and thought I'd give it a try.  It was pretty nice to get both steps done in one.  


Please ignore my messy garage!


After I finished with the stain, I turned the table upside down to paint the rest..........
Good ole ASCP Old White


And now for the final result.........


My friend was pretty happy with her new and improved table.  What do you think?  I'd love to hear from you!


Thanks for stopping by!


Jeanne


Linking up to:
Elizabeth & Co. - Be Inspired
Debbiedoo's - Newbie Party
French Country Cottage - Feathered Nest Friday
Funky Junk Interiors - Saturday Night Special
House of Hepworths - Hookin Up with HOH
Kammy's Korner - Trash to Treasure Tuesday
Miss Mustard Seed - Furniture Feature Friday
The Shabby Creek Cottage - Transformation Thursday
Thrifty Decor Chick - Before and After Party
Pin It

Thursday, April 5, 2012

A Little Table for a Friend

The story behind this little table is just so cool!  My daughter-in-law was sprucing up her house and and sent me a text saying, "Do you want this?  I'm putting it by the road otherwise".  Here's the table..............


So I'm sure you've guessed.  My response was, "Yes!".  Now here comes the really awesome part of the story.  While out to lunch with my dear friend, Debbie, she mentioned she was on the lookout for a small little side table to put next to her couch.  She had just rearranged her family room, and didn't have room for her existing end table by the couch.  I got so excited!  I asked her about what size she wanted.  And she showed me pretty much the exact size of this little table!  I pulled out my phone and showed her what I had just gotten the week before from my daughter-in-law.  She almost cried at God's perfect provision!  It was exactly what she was looking for!  Told you it was a great story!  Once we discussed what she wanted, I got to work.


So here is the perfect little table I made over for my friend!


First, I used ASCP Old White.  It did take two coats to cover.  Then I applied clear wax.  After that, I did a little distressing with 100 grit sandpaper.  I then did a very light touch of dark wax mixed with mineral spirits, and wiped away.  Then, one more final coat of clear wax.  This was a quick easy transformation!


Debbie was thrilled with her table!  I think God loves to give us these little surprises and see us smile.


Thanks so much for stopping by.


Blessings!


Jeanne

Pin It


Monday, February 13, 2012

My First Annie Sloan Chalk Paint Class

Last week I finally got the privilege of taking an Annie Sloan Chalk Paint class.    The class was hosted at my nearest stockist store Luxury for Less in Ponte Vedra. They supplied us with everything we needed to practice a few techniques.  We even got the cutest aprons to take home!


Oh, the choices!


Our wonderful instructor, Wendy, is on the left.  And our host, Elaine, is on the right.
My pictures really don't show the details very well.  But here are the three techniques we covered.


This one is stippling using three colors.  I sealed with clear and dark wax.
This is a two color technique.  I tried half with clear wax only and half with clear and dark wax.
This one is a dry brush technique.

Again, sorry these pictures really don't show the techniques very well.  One day I'll actually get a decent camera.  These are just taken with my phone.

I did get to play around with some paint on the top part of a huge mirror.  This is what I came up with:

I did a base coat of Graphite and then stippled with Barcelona Orange and Old White.  I did the stippling  seperately instead of putting both colors on each side of the brush.  Mainly because I tried the orange first and then decided it needed to be toned down.
Oh, I forgot to mention we had a delicious catered lunch as well!  I forgot to take pictures until after we had already dived in.  You get the idea though. :)


And last but not least.  Here are a few of my classmates.  See the cute aprons!
Formulating a plan. :)
One more look at our awesome instructor, Wendy!


I can't wait for the advanced class coming up soon!  Stay tuned!

Thanks for stopping by.  Be blessed!

Jeanne

Pin It

Friday, January 20, 2012

Small Hutch Makeover

Well it feels good to be able to say I've completed another makeover project.  I've been in a bit of a slump when it comes to getting my furniture redos done. If you missed my post about this, you might want to check it out here.  Needless to say I was a bit overwhelmed with furniture literally to the ceiling!
So here's a quick before and after for you to start things off.


I definitely had some mishaps along the way.  I almost cried when the top of the paint can popped off as I was shaking it upside down as instructed.  I did manage to flip it up pretty quickly.  So, I'm thankful for that.


Yes.  It's Annie Sloan Chalk Paint!


I painted straight from my arm. :)


I was attempting to paint the back of the hutch in Duck Egg Blue.  I soon ran out of patience with the cutting in part of that process.  Thus, I dry brushed over it to hide my inadequacies.  Here was my first attempt.


The sides are Old White and the back was going to be Duck Egg Blue.


I also had a battle with the glass doors not closing properly.  I finally went and bought new latches and took care of that problem.


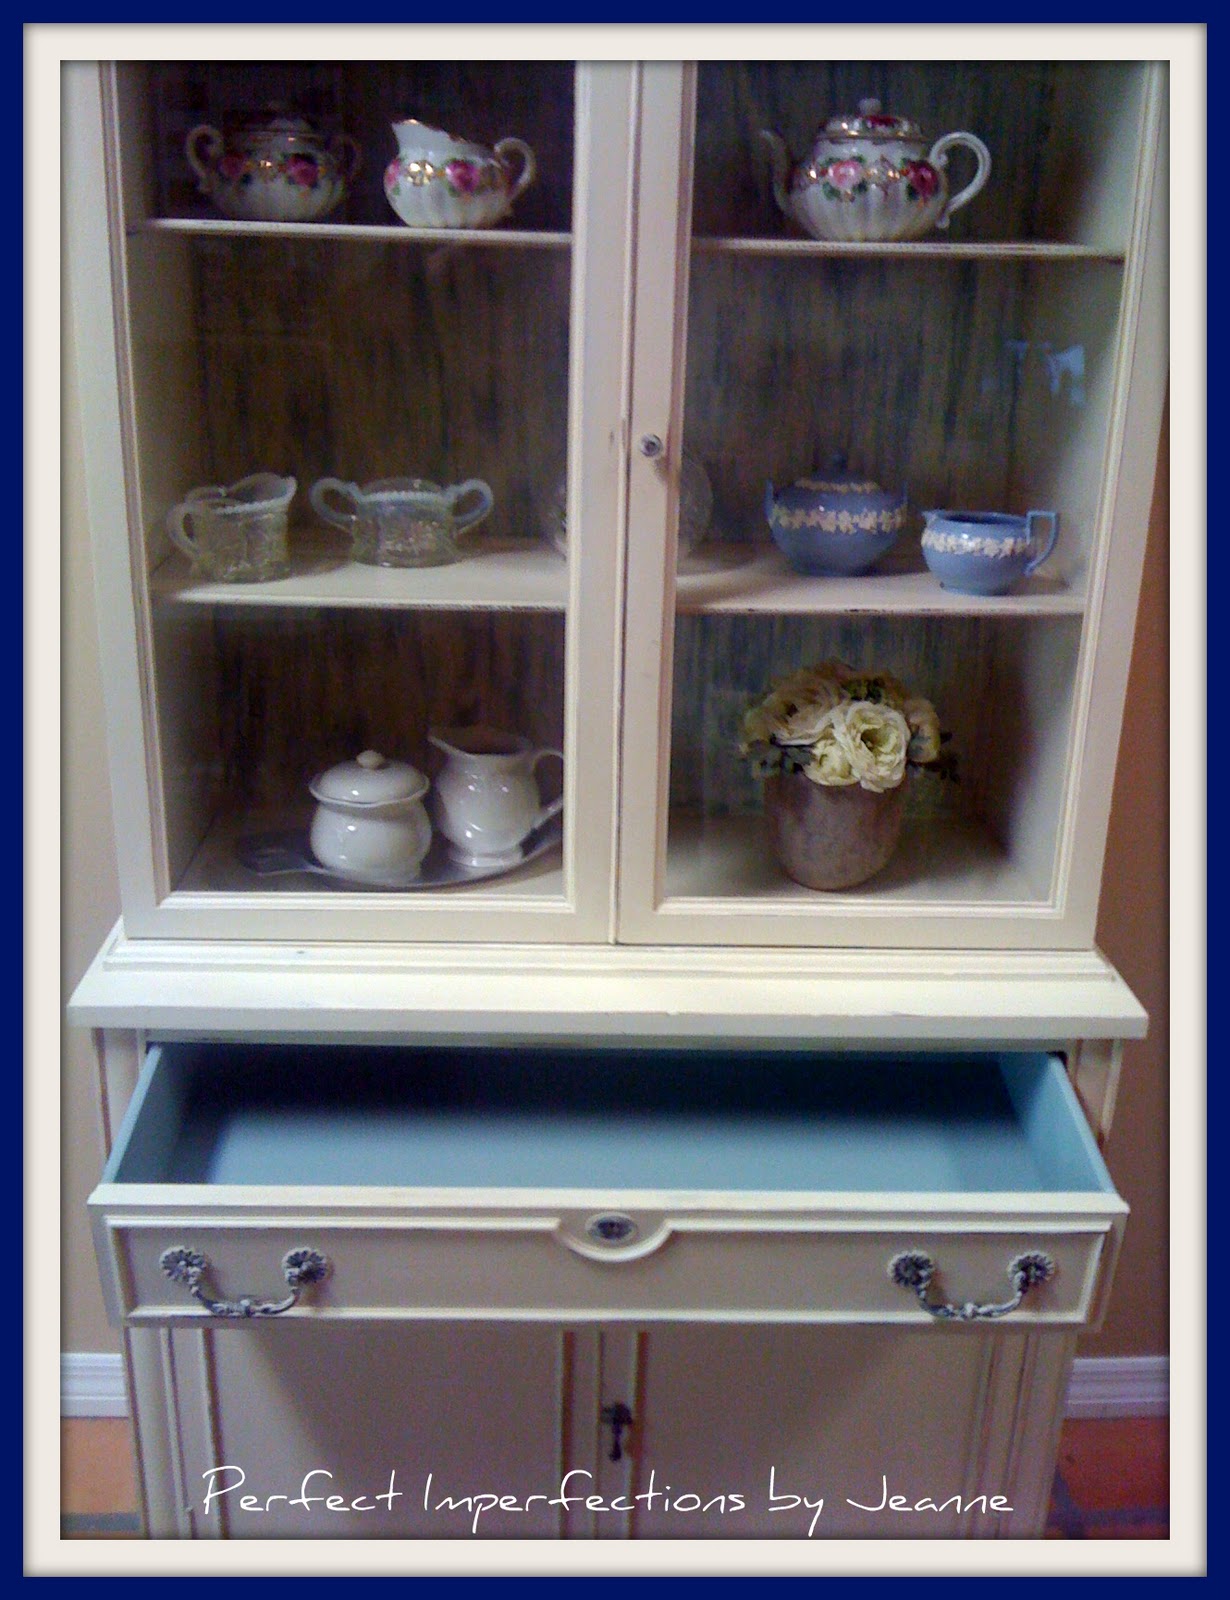
Now, back to the hutch.  I hope you stayed with me to see some more after pictures!  Here they are......


OK.  One more time. Before.....


And after......


Thanks so much for stopping by!  


Linking up to:
Alchemy Fine Living - From Trash To Treasure
Blissful and Domestic - Feature Friday Linky Party
French Country Cottage - Feathered Nest Friday
Homemaker on a Dime - Creative Blogger's Party & Hop
Miss Mustard Seed - Furniture Feature Friday
The Shady Porch - Rock 'N Share
2805 - Potpourri Friday